Opti Build and Launch

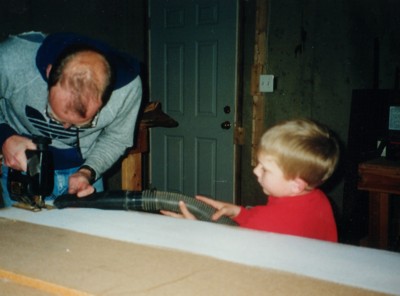
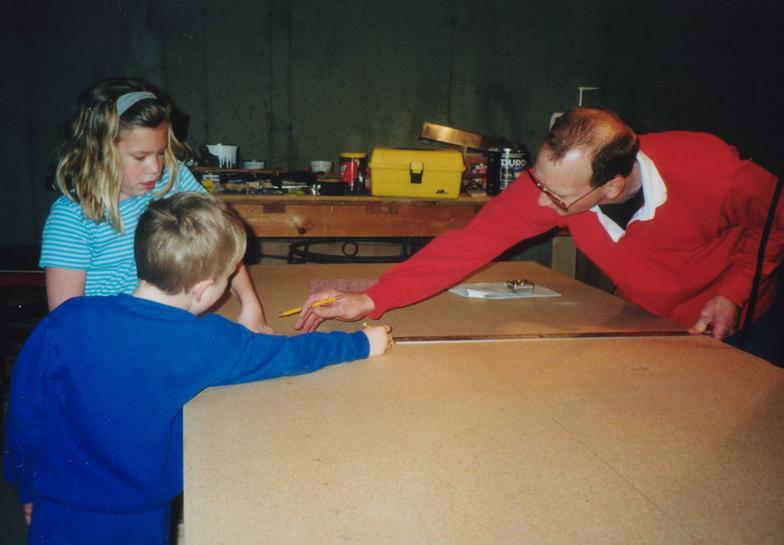

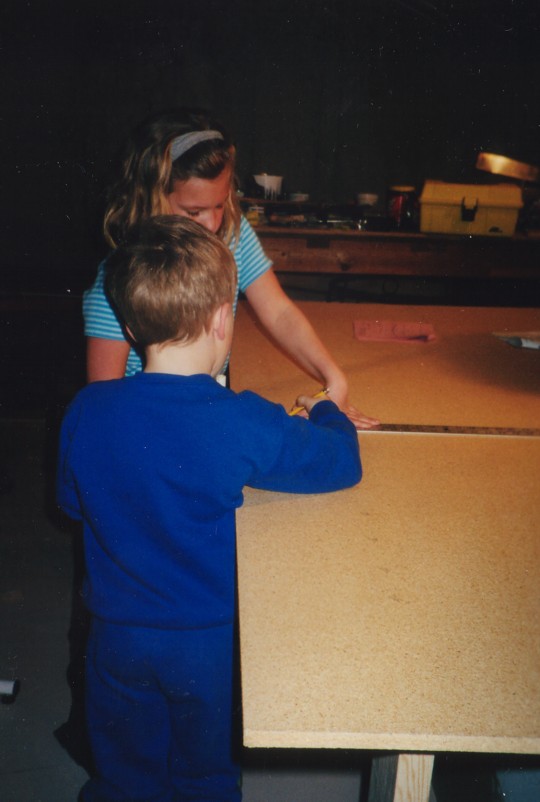
My kids helped me layout the panels that will be the hull sides and bottom. Then as I carefully cut out the panels with my jjgsaw, my son held the vacuum pickup so the sawdust wouldn't obscure the line.
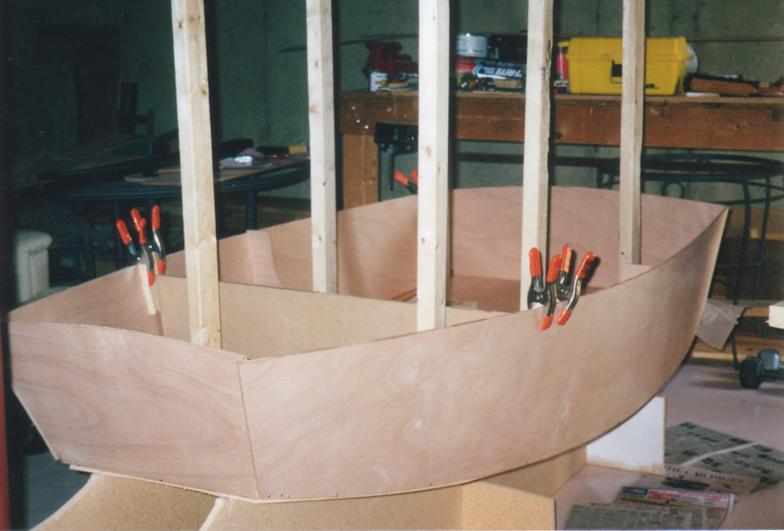
Below, the hull is formed up. The vertical 2x4s held the bottom panel in shape against the molds that are set up on the floor.
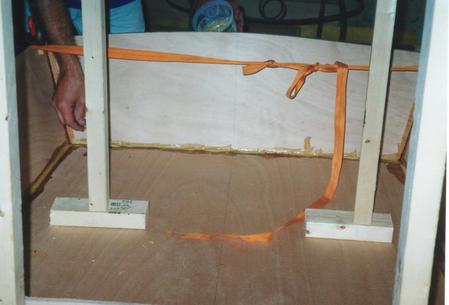
On the right I am laying a fillet of thickened epoxy that will join the panels together.
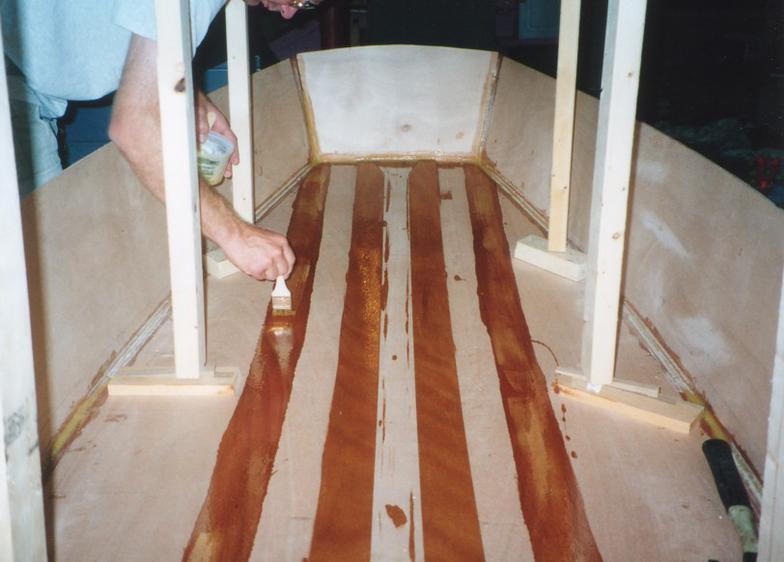
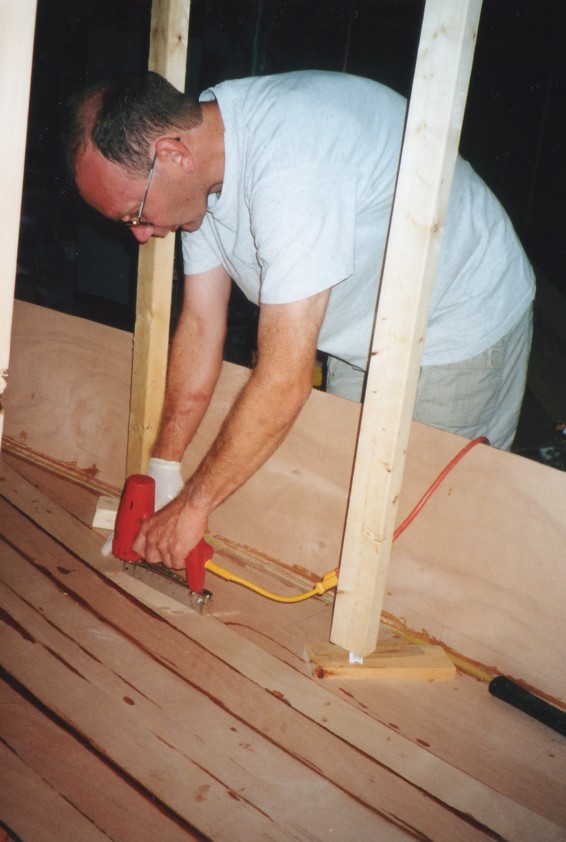
Here the "hog" has been fitted down the middle which will reinforce the daggerboard slot. I wet out the strips that will be laid up outboard of the hog to provide additional stiffness.
Below right I am stapling down the strips.
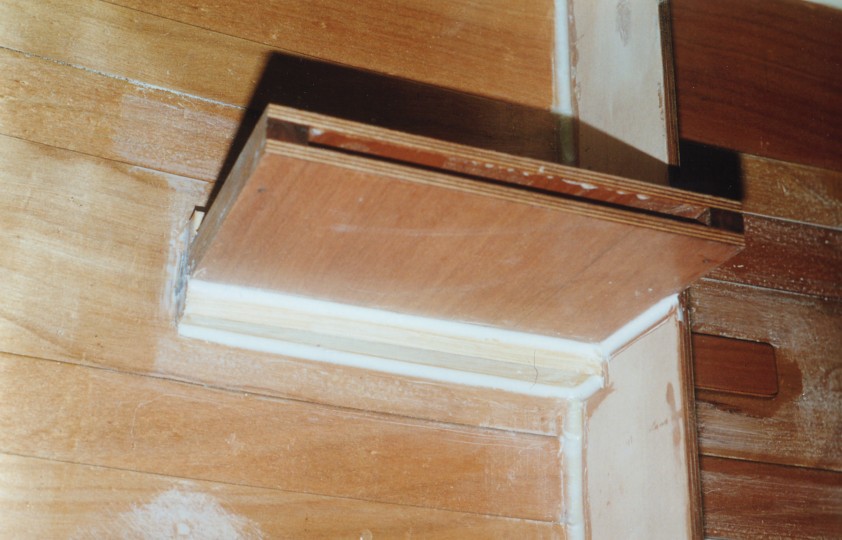
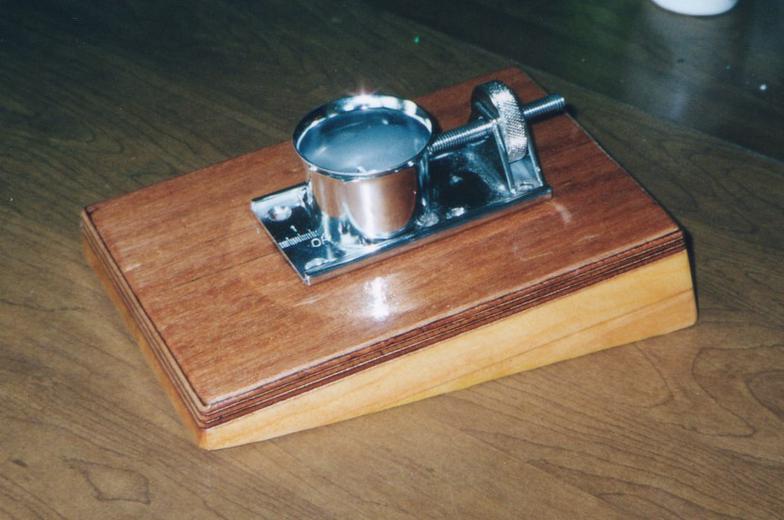
Below left I made up the mast step while I was waiting on epoxy to cure.
Cutting a hole in the bottom of a boat is never easy, but that's what needs to be done. Here is the slot and the finished daggerboard trunk glued in place.
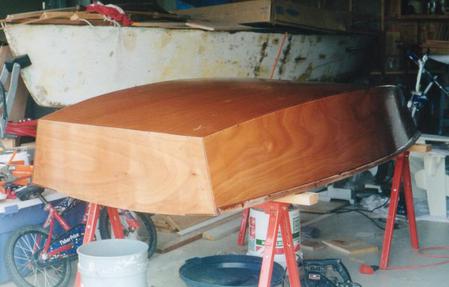
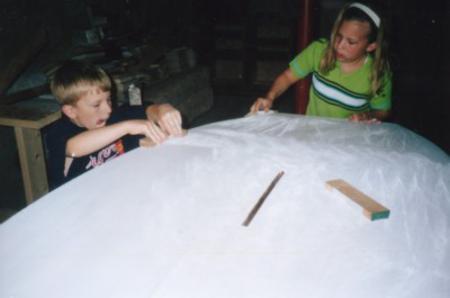
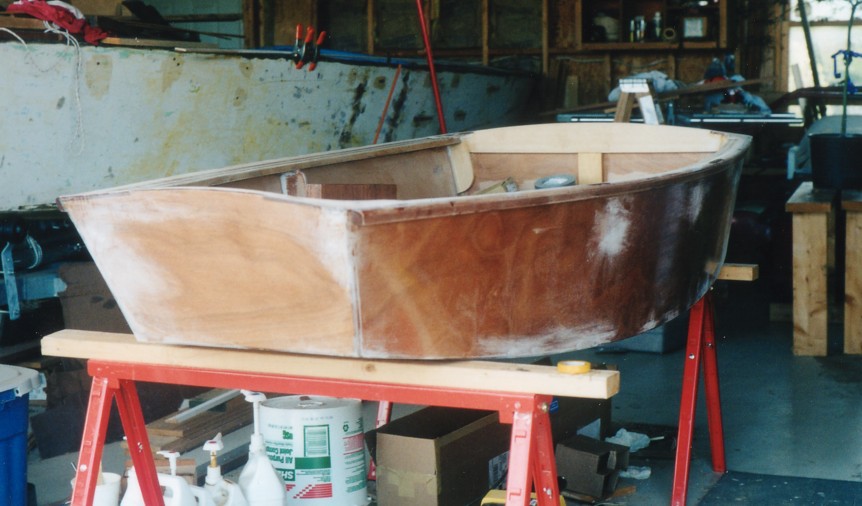
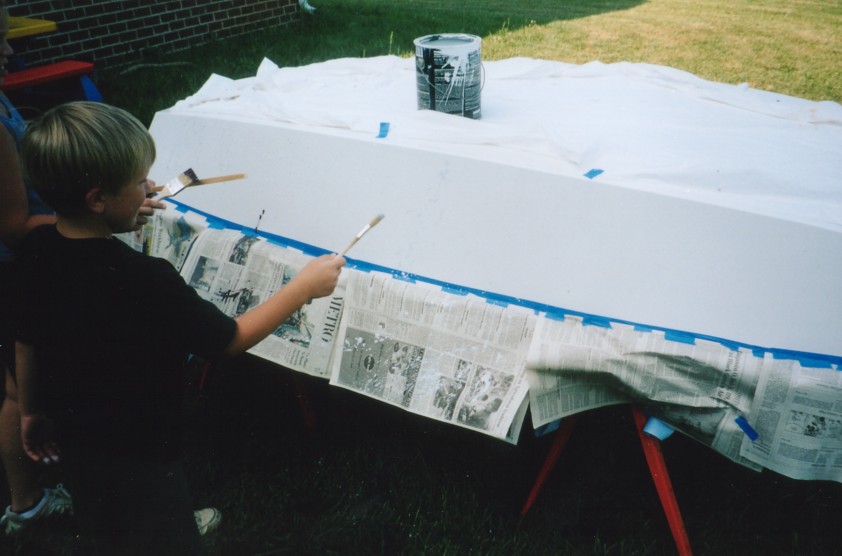
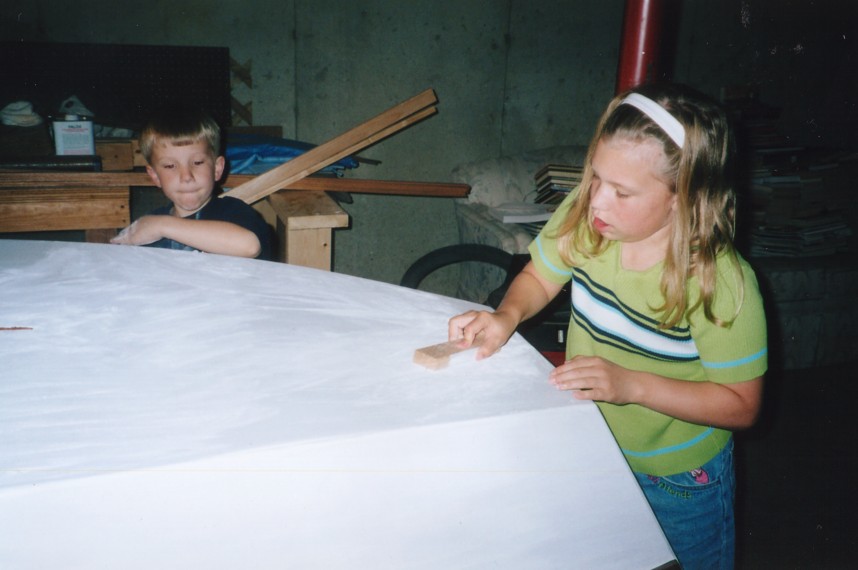
Now that the hull was finished, I moved it out to the garage for finishing. While a bright varnished finish would have been nice, there were a few boo-boos that precluded that.... so my helpers got the job of sanding all the primer I painted on after sanding the epoxy coating.
(In the background is the wooden Lightning sailboat I rescued)
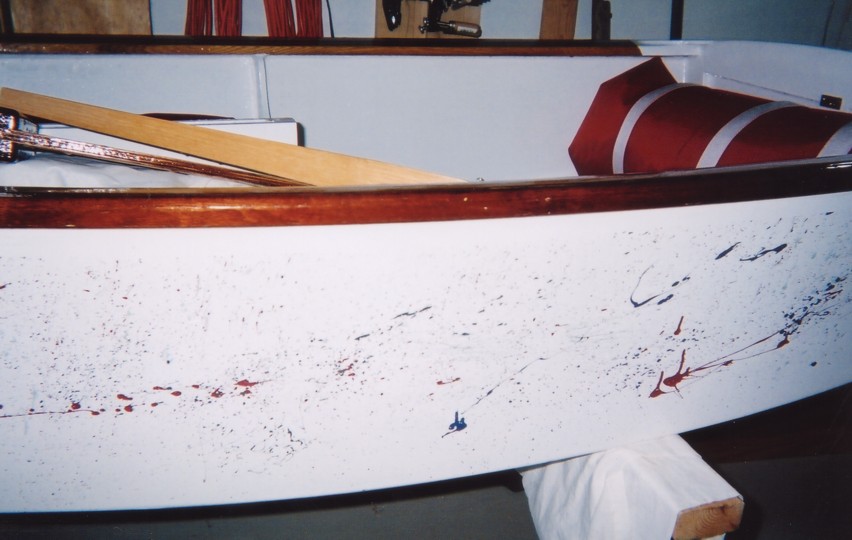
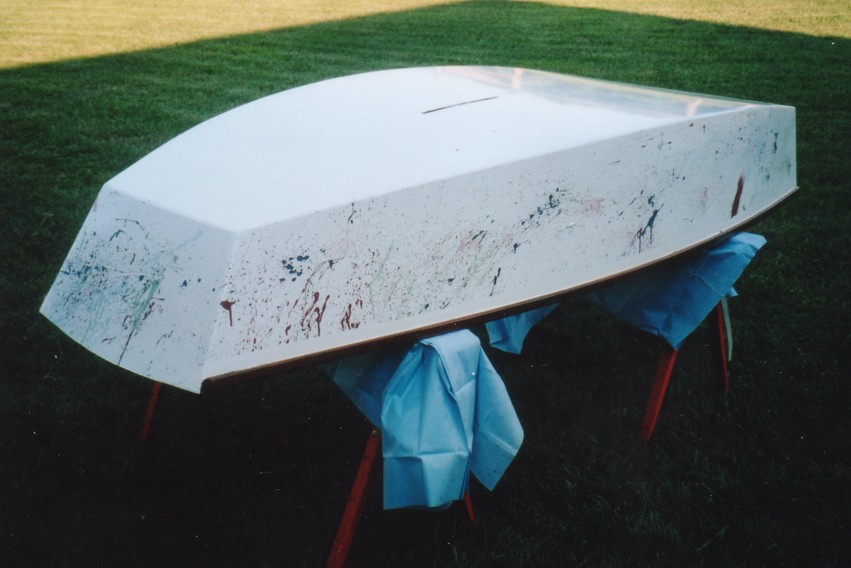
After a base coat of white paint the kids finished the job by "splatter" painting the hull with all the various colors of latex paint we used when we built out house a couple of years prior.
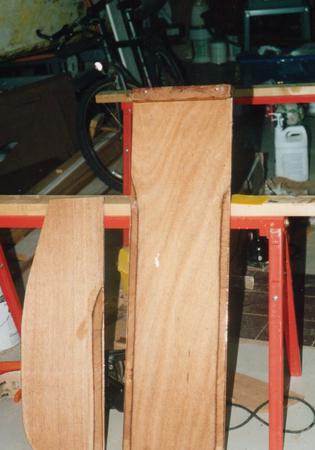
Below I made the rudder and daggerboard out of marine plywood with a beveled edge.
The finished boat had inwales of ash and pine and a rubrail of brazilian cherry.
The kids decided on the name and yes, that is NOT how DINGHY is supposed to be spelled, but this boat is a little "dingy"!