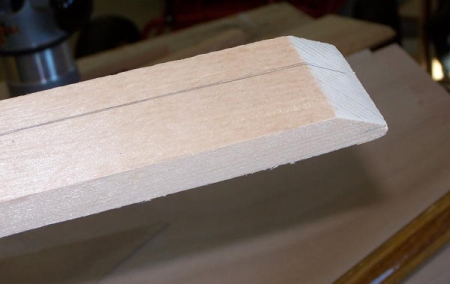
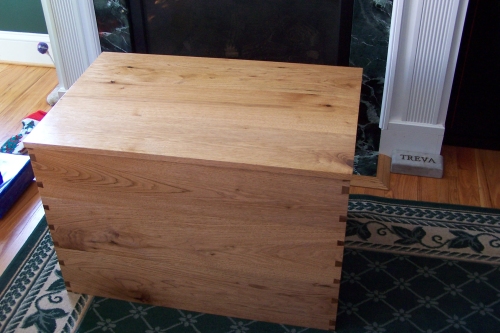
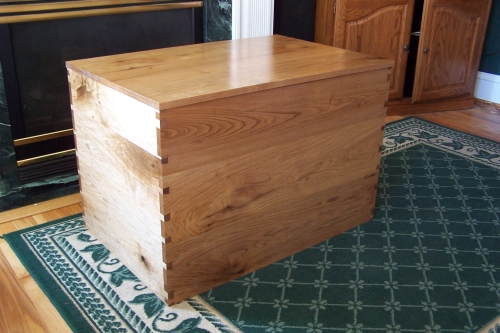
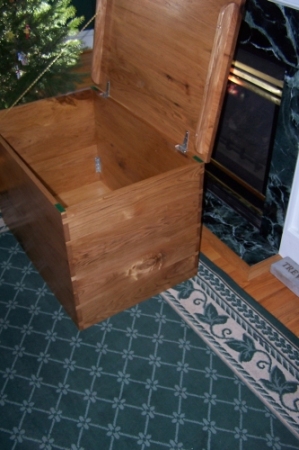
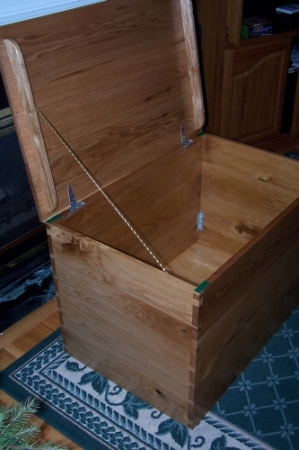
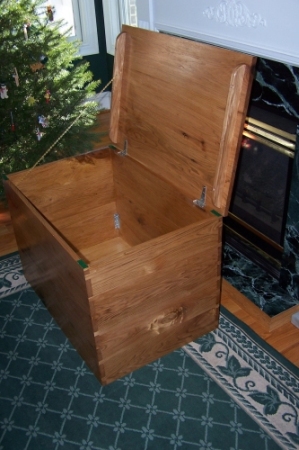
My second attempt at dovetails. The first was making handcut dovetails for a toolbox I made out of some ANCIENT pine lumber that was sitting around for decades. For this chest I used a friend's LEIGH dovetail jig. And an acquaintance's huge thickness sander to prep the glued up boards. I had designed the entire chest and found just the right router bit to give me the look I wanted.
Some of you may recognize this boat cradle from another page on this site. Was my daughters cradle when she was little. Needless to say she slept very well!
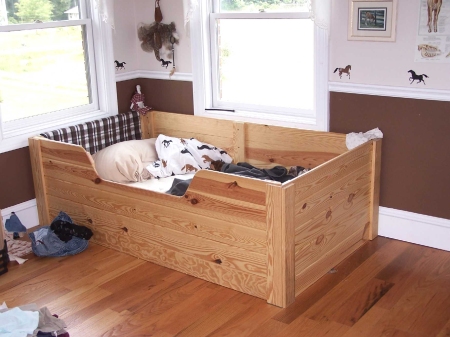
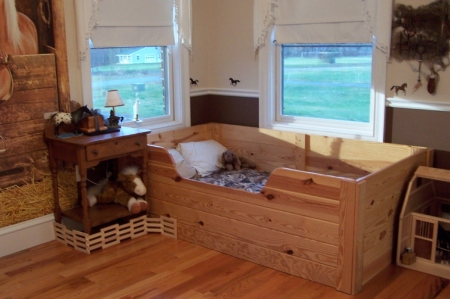
Same daughter is 16 now. A few years back she was really into horses and had a horse theme in her room. She wanted a bed that was like a tack box so this is what I made out of some T/G barn roofing material.
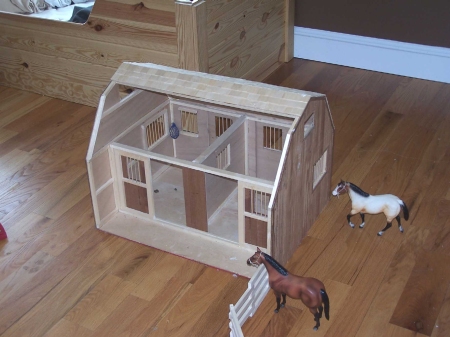
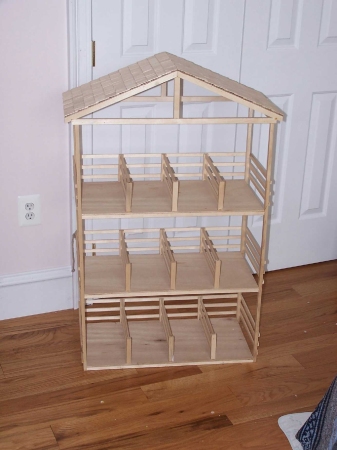
I also made her the barn below based on a BREYER barn... siding is very thinly sawn Mahogany. The vertical stable below was also based on something she saw in a catalog. Actually a lot of things I make are because she or her mother said "hey, can you make this"?
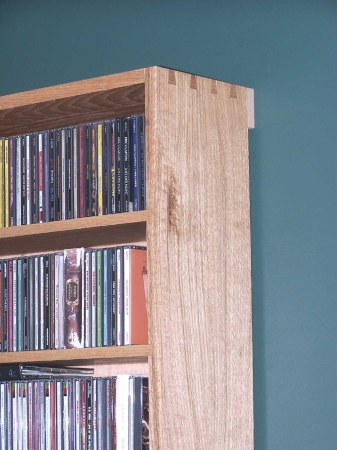
Another dovetail project. I needed someplace to store my CDs. Thought this would be a good way to do so. I have since run out of room!!!
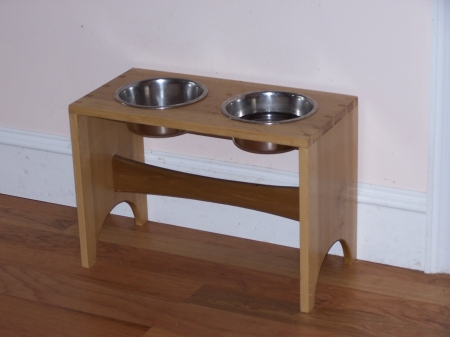
Macey, the mean, killer Rotty. needed a food/water bowl rack. Makes it easier to eat and drink you know. Again, someone saw a picgture in a catalog and brought it to me. I used Poplar and dovetailed the joint. The cross piece has a slight curve to it to keep from looking bulky.
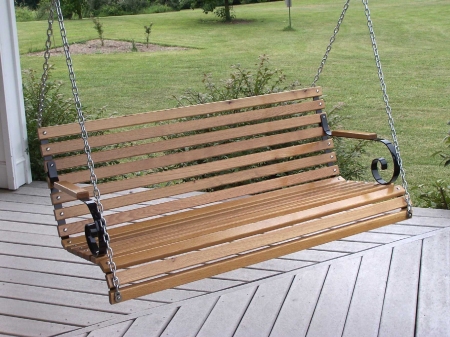
This is what I called a VINTAGE SWING. When I built my house (designed and literally built it...) I wanted to have an old fashioned porch swing to sit on. So I laid out the curves, had the metal fabricated and used white oak w/ Stainless Steel fasteners to make this swing and several others which I have sold or given as gifts. You have to make certain it isn't in direct sun all year round as the UV light will break down the varnish. But it looks pretty good!
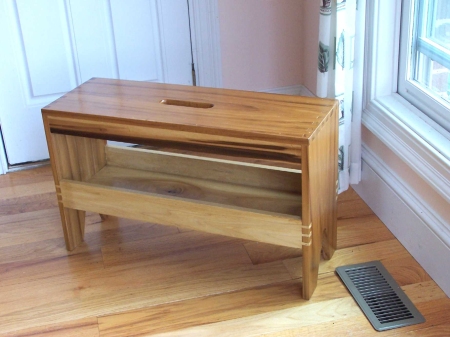
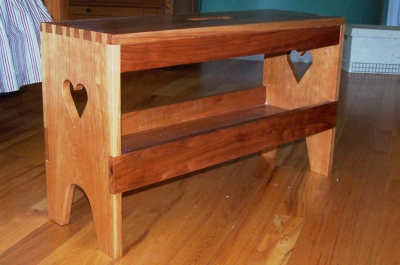
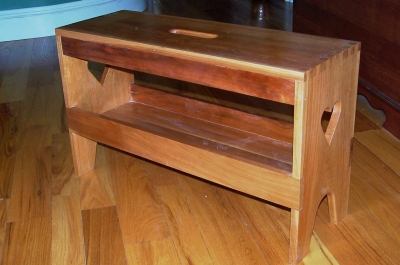
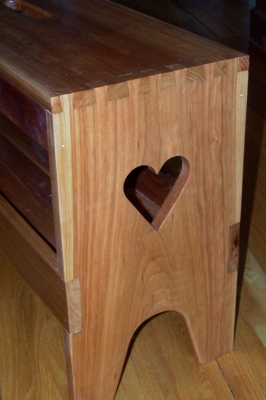
This poplar bench was intended to be a shop bench. I saw a similar design that a guy had built for use in his shop so he could step up and still store some tools underneath. After I built it I liked it so much I brought it in to use in the kitchen as a place to sit and put your shoes on.
Of course I knew better than to dovetail ACROSS the grain like I did w/ the shelf support but I thought I'd try it anyway.
That led to the Cherry Bench below. I built this a couple of years later intending to give it as a present and then liked it so much I kept it for myself and use it as a low nightstand.
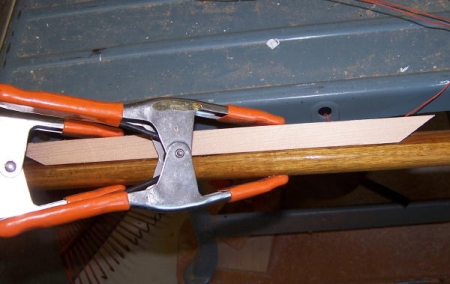
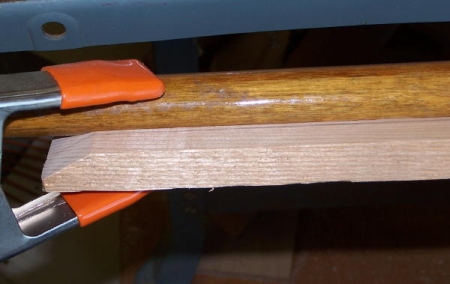
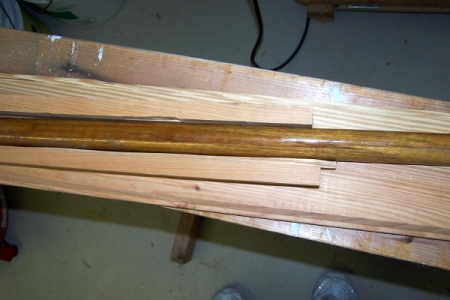
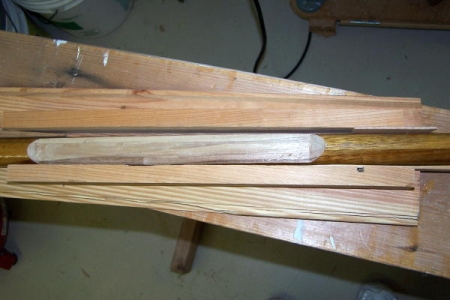
The following pictures are of a repair I made to a wooden kayak paddle for my brother. I haven't yet had time to write it all up so you'll have to figure it out yourself!
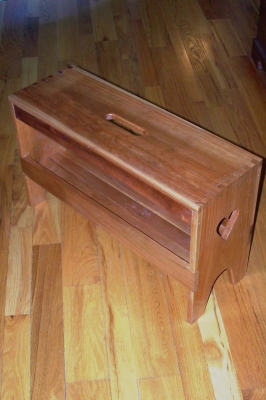
I wanted to build a tackbox for my daughter but I wanted to try something different and used BUTTERNUT. Unfortunately I don't have a pic of the handles I used but the wood was the main attraction.
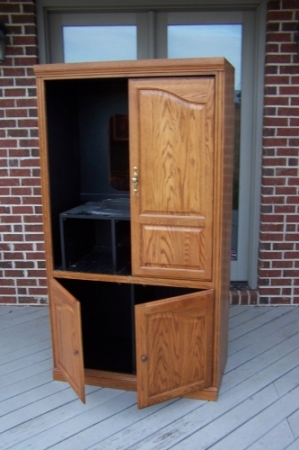
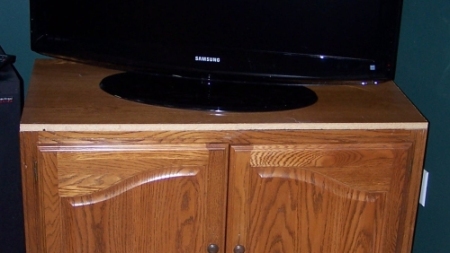
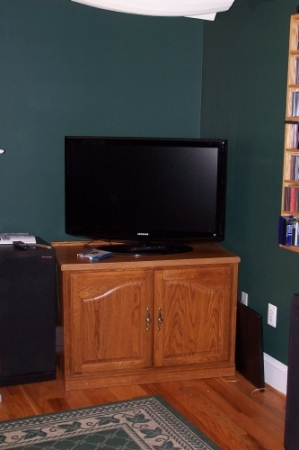
I bought a new TV. A flat screen LCD. It wouldn't fit in my old TV entertainment center. I was having a hard time finding a low credenza style cabinet I liked when I had a brainstorm. What if I...
So first I took the doors and the hardware off and removed the inner shelving.
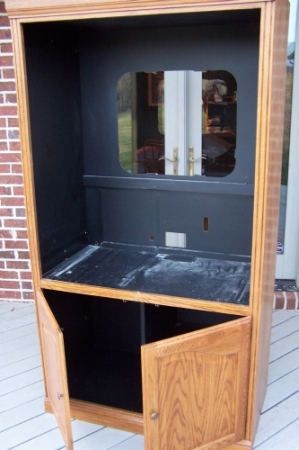
Then I cut the top off the cabinet leaving THIS.
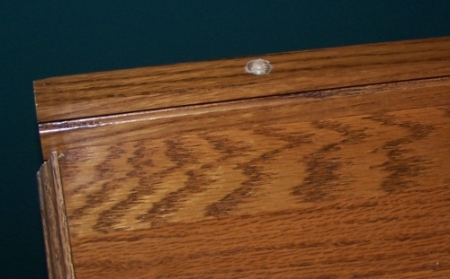
As you can see to the right I then used one of the sides I had cut off as the new top. Here you can see the exposed edge. It also was obviously not wide enough to completely cover the top; an issue I addressed next.
I next used one of the trim pieces from the front of the cabinet to fill the back of the cabinet.
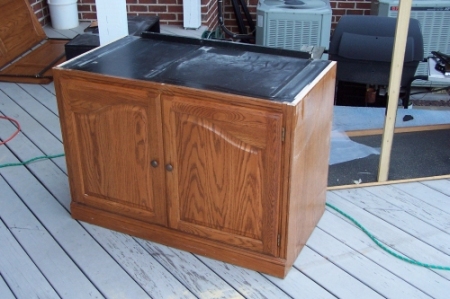
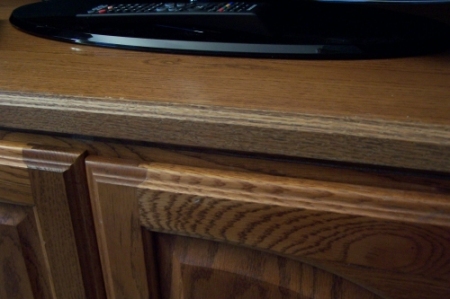
Another view below showing the new top not yet trimmed out.
A piece of fake oak trim from Home Depot almost perfectly matched the finish and covered the exposed edges of the top.
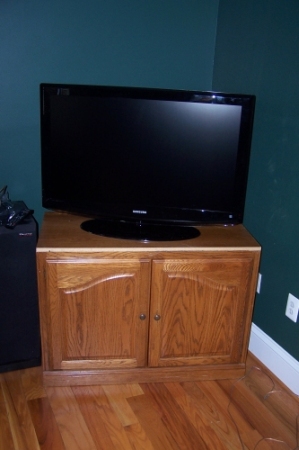
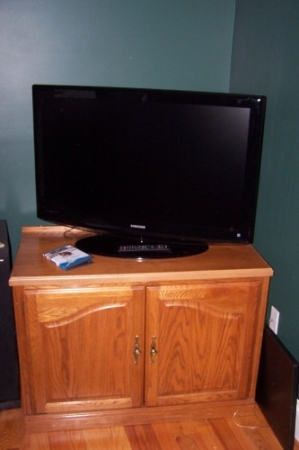
The finished product. Not the finest piece of furniture, but for less than $10 (the cost of the trim pieces) and a little time and effort I've got a cabinet to set my new TV on as well as hold all my stereo equipment and some DVDs.
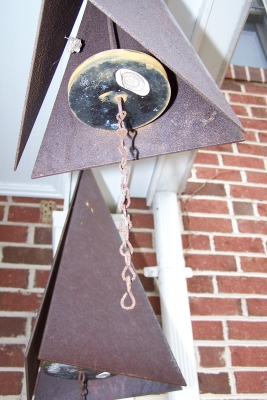
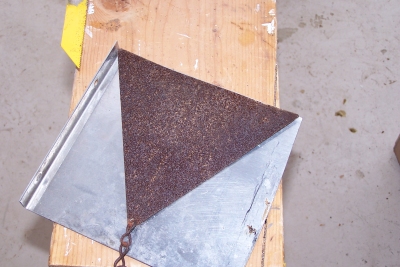
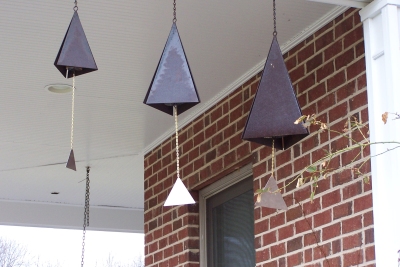
A metal working project. I've got three windchimes that are supposed to sound like buoy gongs or whatever. The triangle the sways in the wind had rusted on two of them and fallen off. I wanted to fix them so I could resume annoying my neighbors (just kidding) and listen to their sound as I lie in bed. As you can see below left there is some pretty serious rust and deterioration. First stop was the local scrap metal recycler for some sheet stainless steel. Below right is the middle sized chime w/o the triangle. (What the hell is that thing called?)
Next I laid out each piece of existing metal and drew the outline on a piece of stainless I had cut roughly to size.
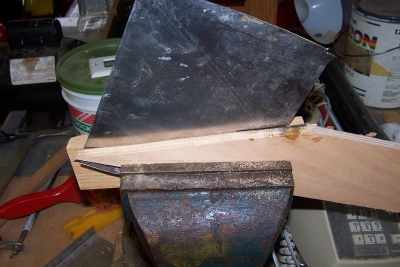
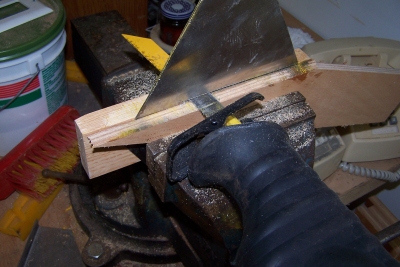
Then I clamped the stainless in the vise sandwiched between two scrap pieces of plywood to support the metal while I hacked it to death w/ my 18V Dewalt Reciprocating saw! (remember to use lubricant and go slow!
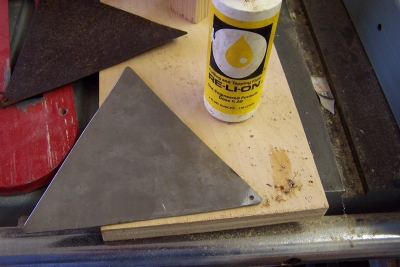
Next stop was the grinding wheel to smooth the edges and round the corners and generally make it less than a lethal weapon! Off to the drill press to drill a 9/64" hole. Back to the grinding wheel to smooth the edges of the hole. Note the bottle of tapping fluid for lubrication.
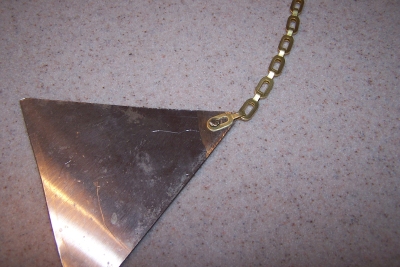
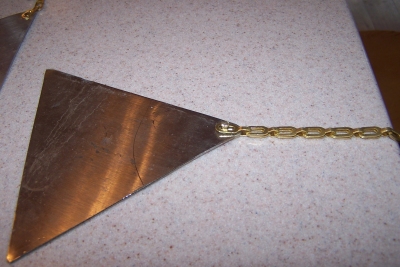
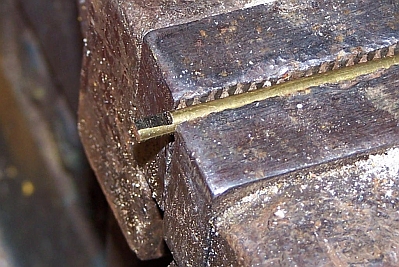
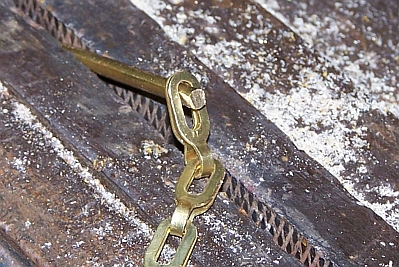
This next part needs some explanation. I had some brass chain to hang the new triangles with but I needed to attach them somehow. Hit on the idea of using some 1/8" brass rod and peening over the ends just like clinching roves. Small problem; the rod wouldn't fit through the links in the chain and drilling the chain was next to impossible as well as it would have weakened the link.
AH-HA! I filed a FLAT on the very end of the brass rod, turned it 180 degrees and filed another flat on the rod. Then I cut the rod so there was about 1/16"+ of solid unfiled round rod. I ended up w/ a modified pin about 3/16"+ long. It just fit through the links and when peened over fastened the chain to the stainless triangle!
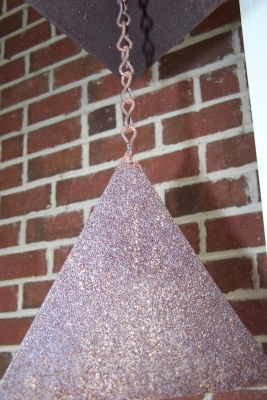
Haning up and ready to ring! I need to shorten the chains on the two smaller chimes, but that's for another day.